Heres the picture from the first day of school a few years ago but you can barely see the skirt.

This all began the week before school started. I was minding my own business when out of nowhere Pinterest attacked me. That's not how it really how it went but close enough. Lol! I was looking for outfit ideas for my tween when I can across this photo on Pinterest. I felt like this photo slapped me. Why didn't I think of this Look before. I could not seem to find a pattern to achieve the Look that I was going for.
So I made this skirt and now a few years later I need to make this skirt again as part if a cosplay costume.
I figured I would share the steps I did the first time to accomplish this look.
 .
.
I used this skirt as a guide for size and construction.

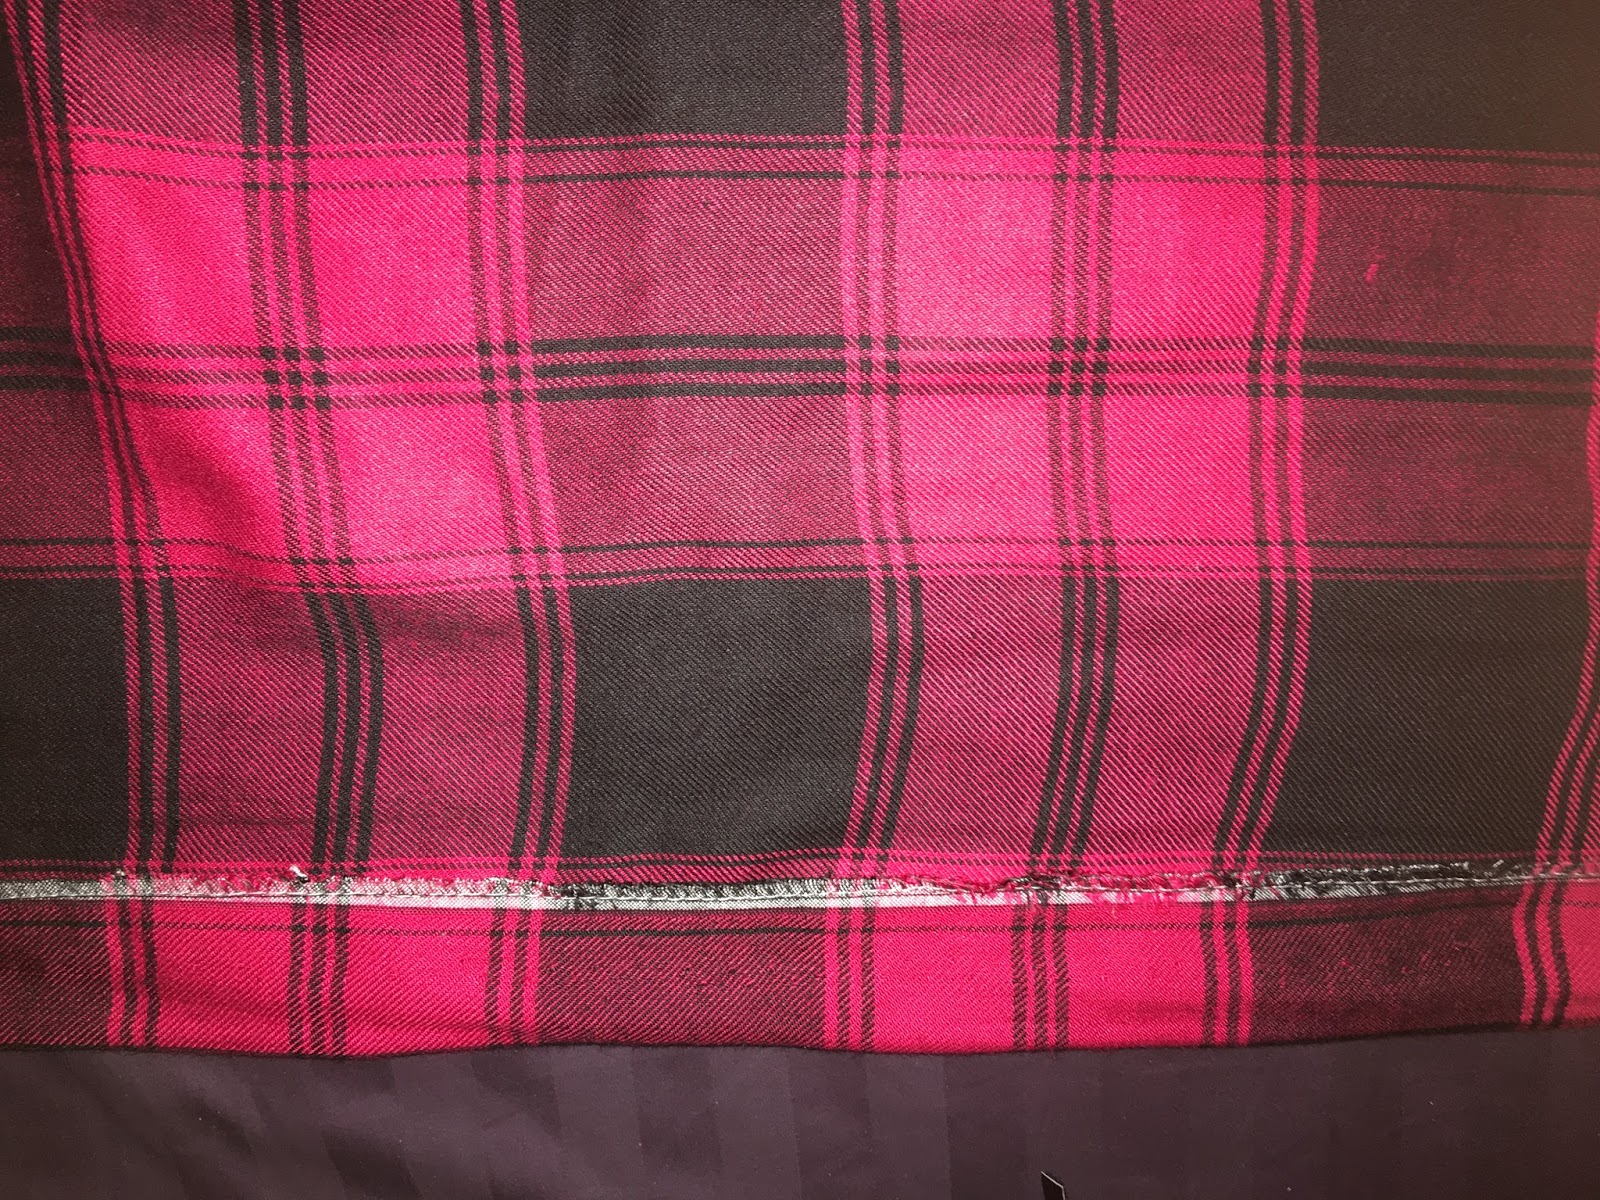
Here's the beautiful fabric that I picked up at Joanns
.

Instead of making a pattern piece I laid the skirt on the fabric. I cut the fabric an inch longer and 4 inches longer to have enough fabric to create the pleats.

I serged the edges for a clean finish look.

The beautiful inside.

To create the pleats I pinned the fabric an inch wide.

After pinning, I handed basted it.

Once done I measured the from to the back piece to ensure that it would be a perfect fit
Created a 1 inch hem at the bottom if the skirt.

After basting all of the pleats, took the fabric to the machine.

I hand basted the pleats to ensure that every pleat was the same size.

Here's a closer look at the serging.

Next up is pressing.

Heres a picture of the inside before serving the seams. This fabric really frayed

Heres my finished skirt!
I hope this was helpful. Have a wonderful day.
No comments:
Post a Comment